Complete restoration
In the Stories section, you can read how the HB3 came into my possession in early 2021. Even at the time of purchase, it was clear that this would be a time-consuming major project. Disassembling the bike revealed that the Bimota had been used purely as a riding machine, with only the bare minimum of maintenance performed. Proper care was obviously never a priority. The more I took it apart and cleaned it, the more issues came to light. It’s astonishing how little interest some owners have in their rare bikes. Back in 1984, an HB3 cost significantly more than a Golf II GTI, and only 101 units were produced. Today, far fewer remain, scattered across the globe.
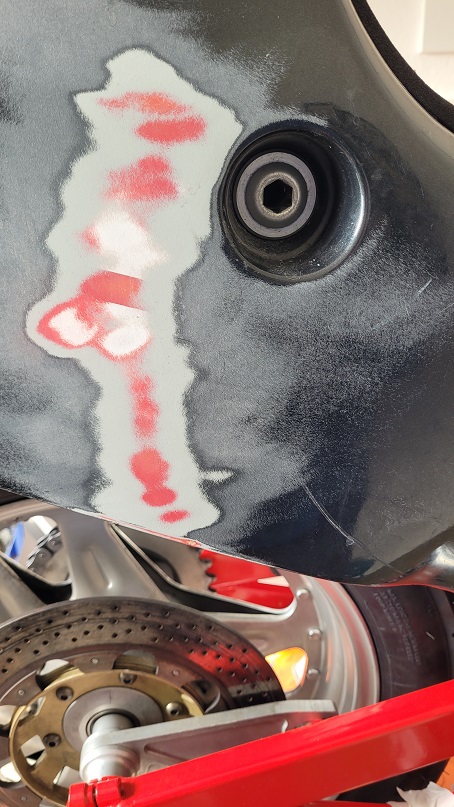
Below is a small gallery that gives an idea of the effort required for the restoration. Leaking acid has damaged the battery box, though it can still be saved. The exhaust silencers, however, are beyond repair. Under the riveted aluminum covers, the rusted-through original mufflers were found, completely hollow inside.
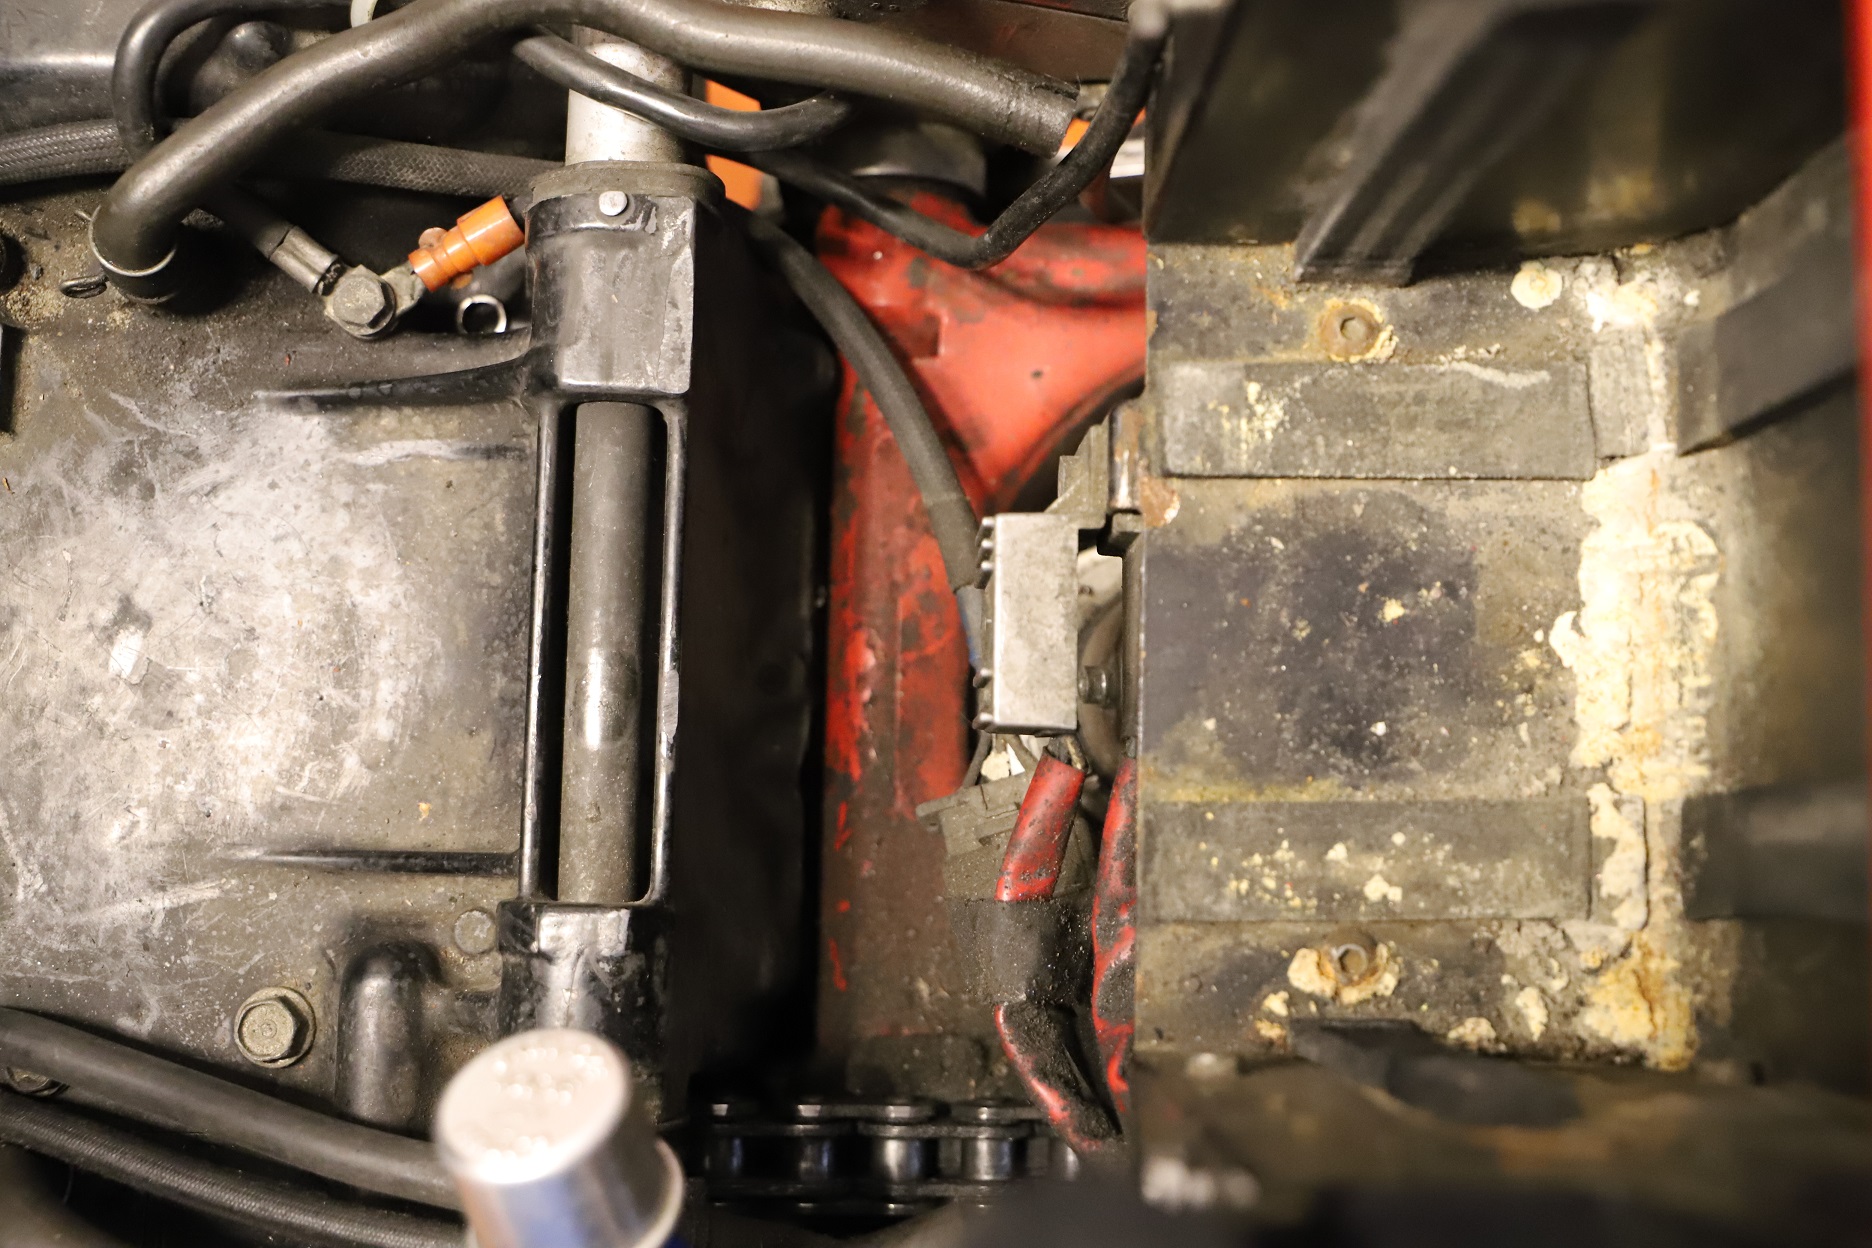
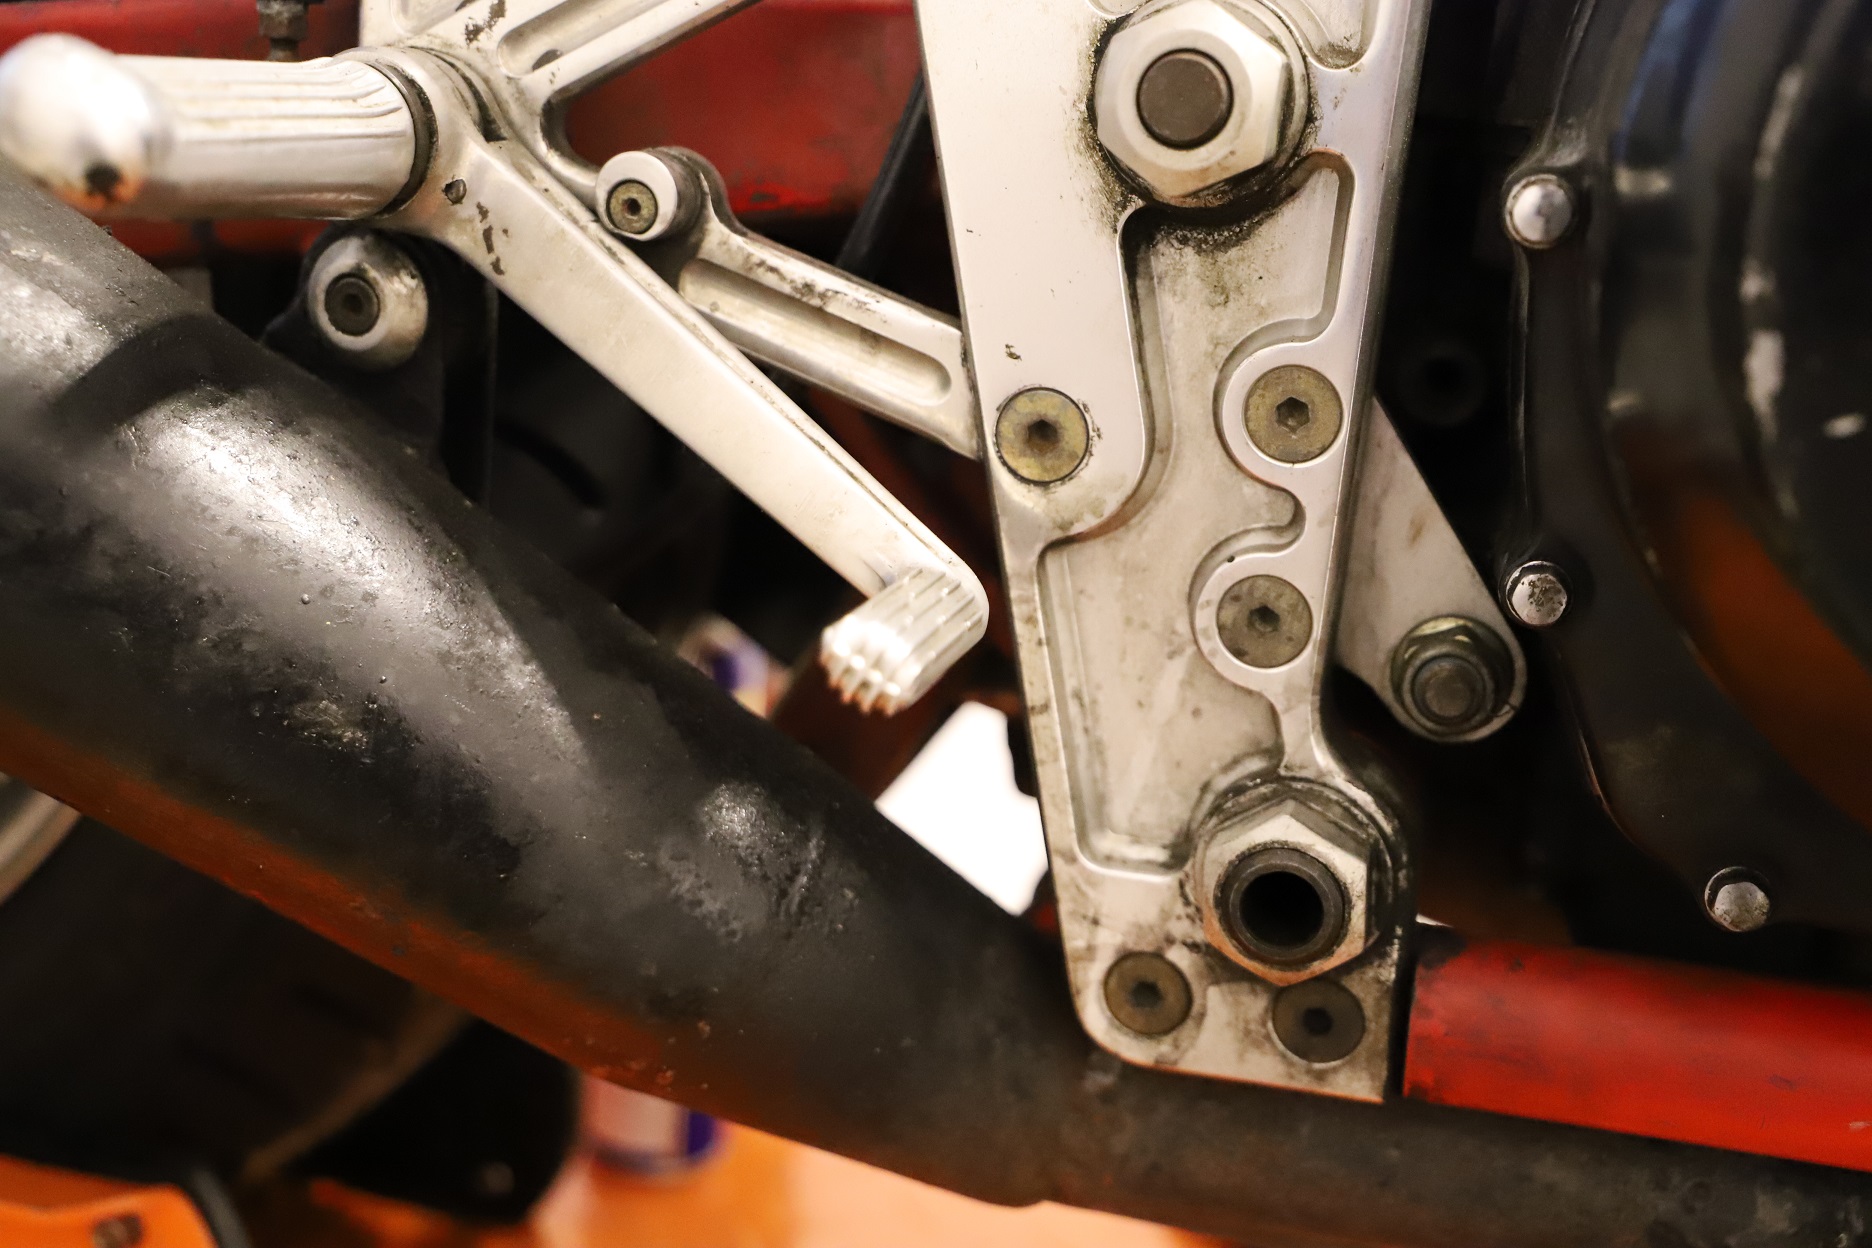
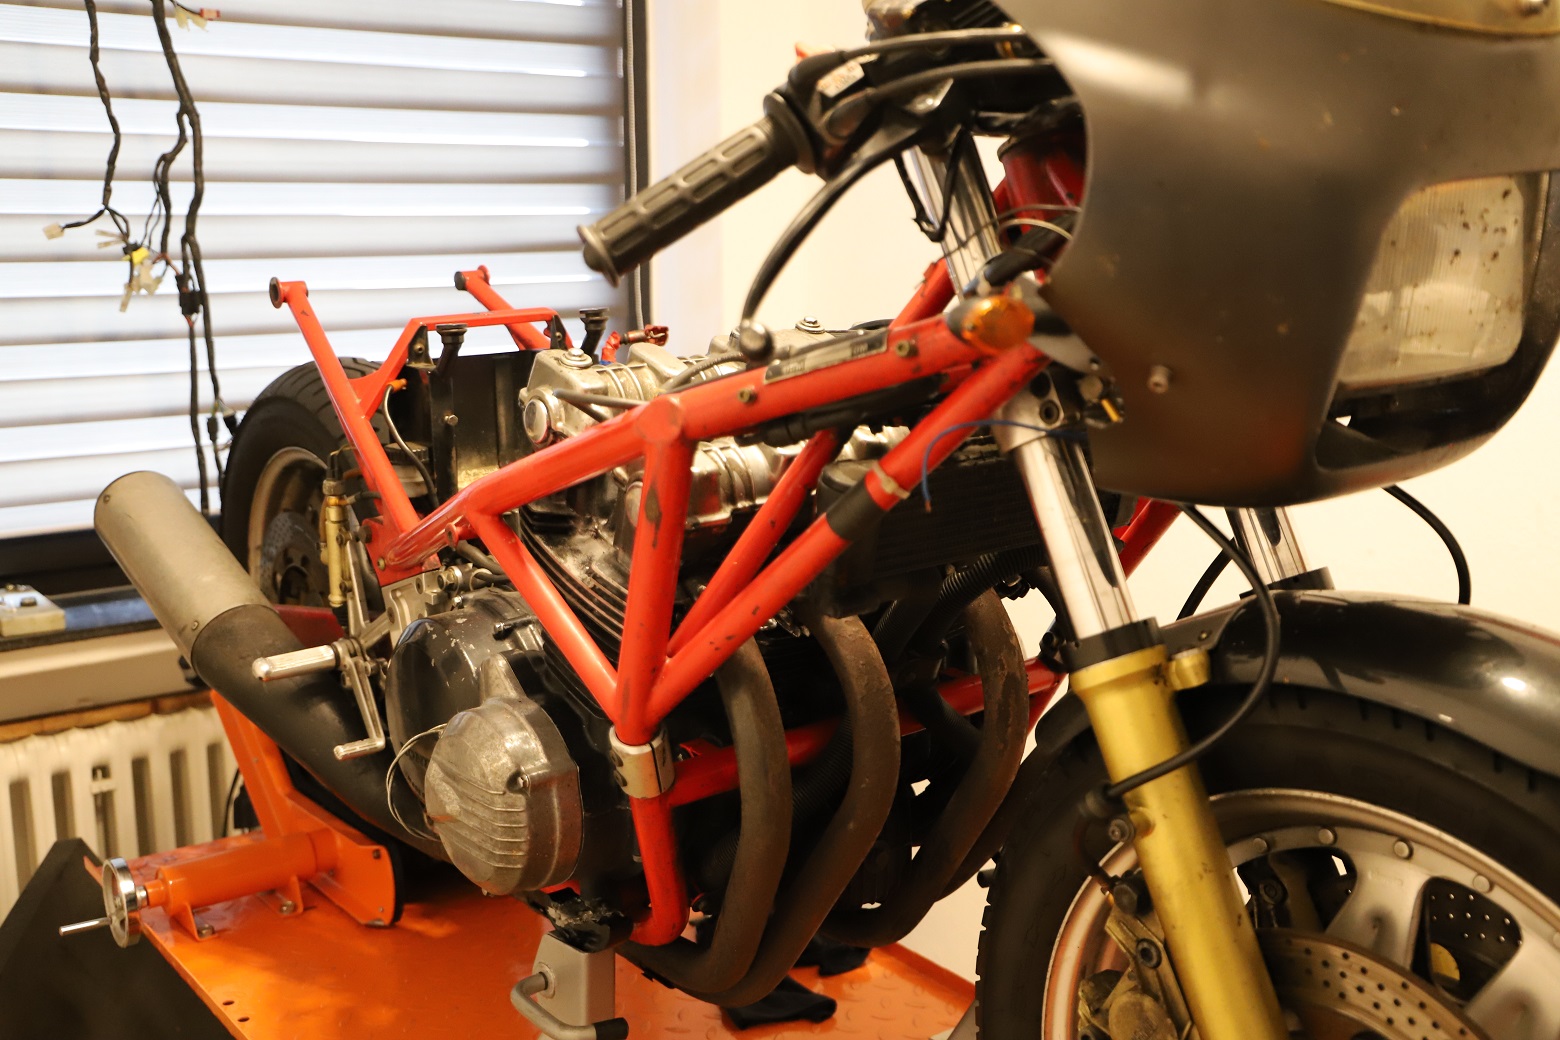
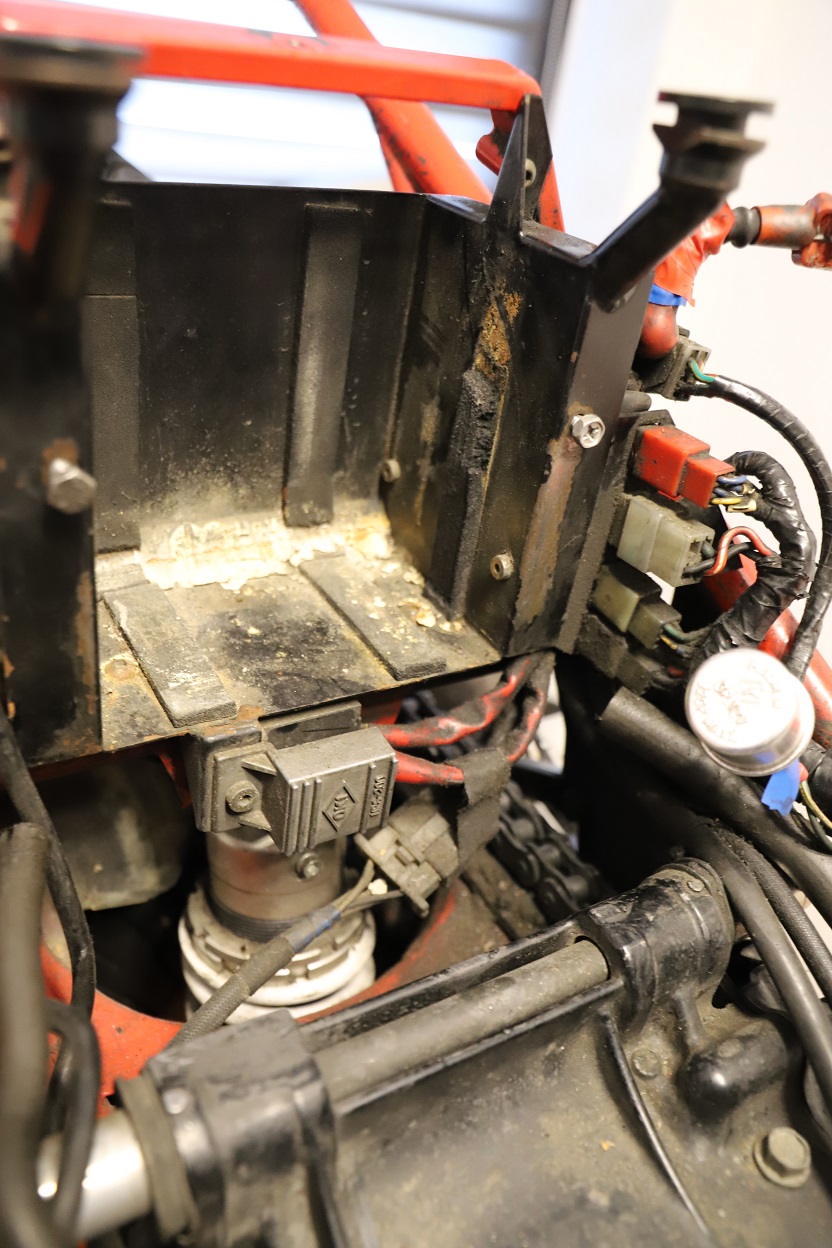
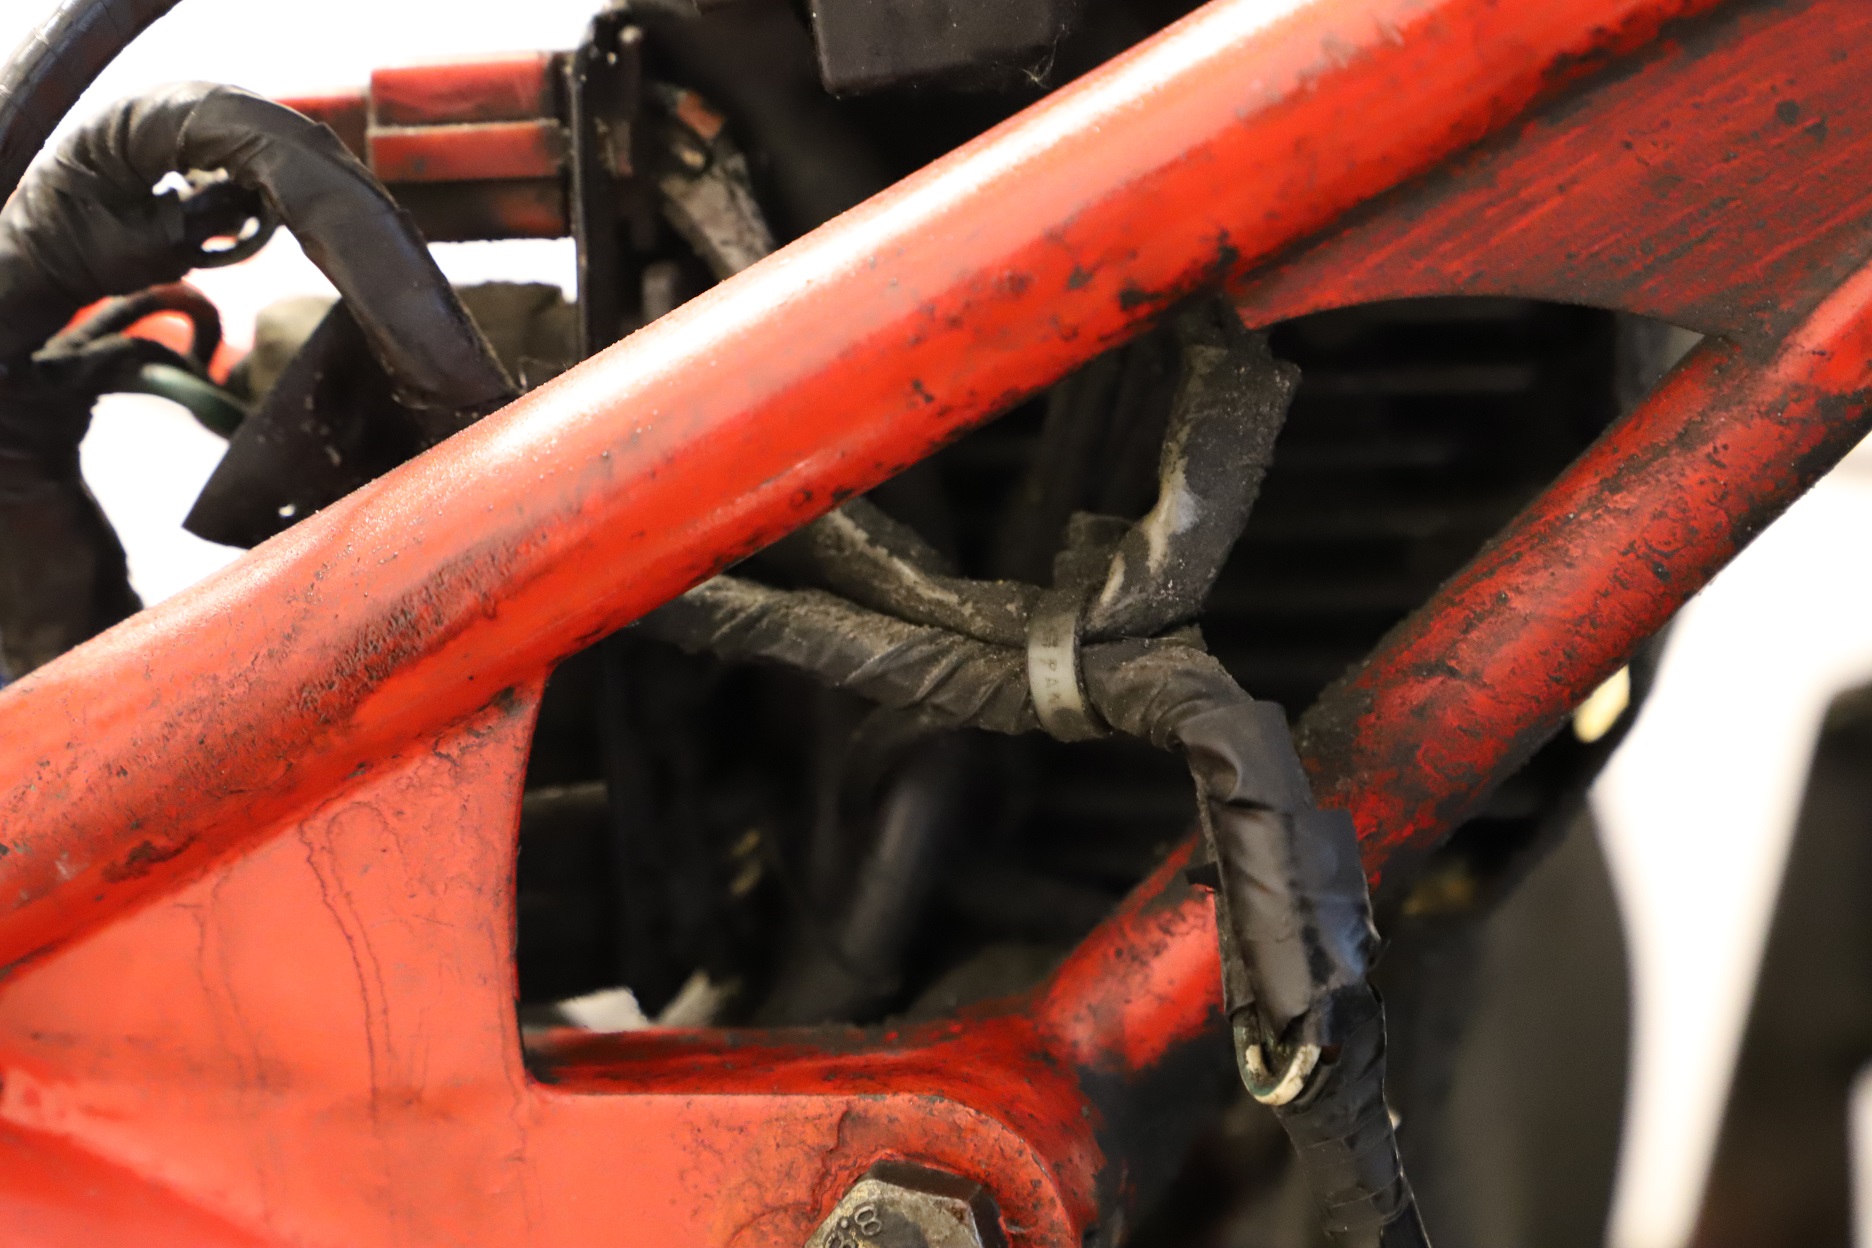
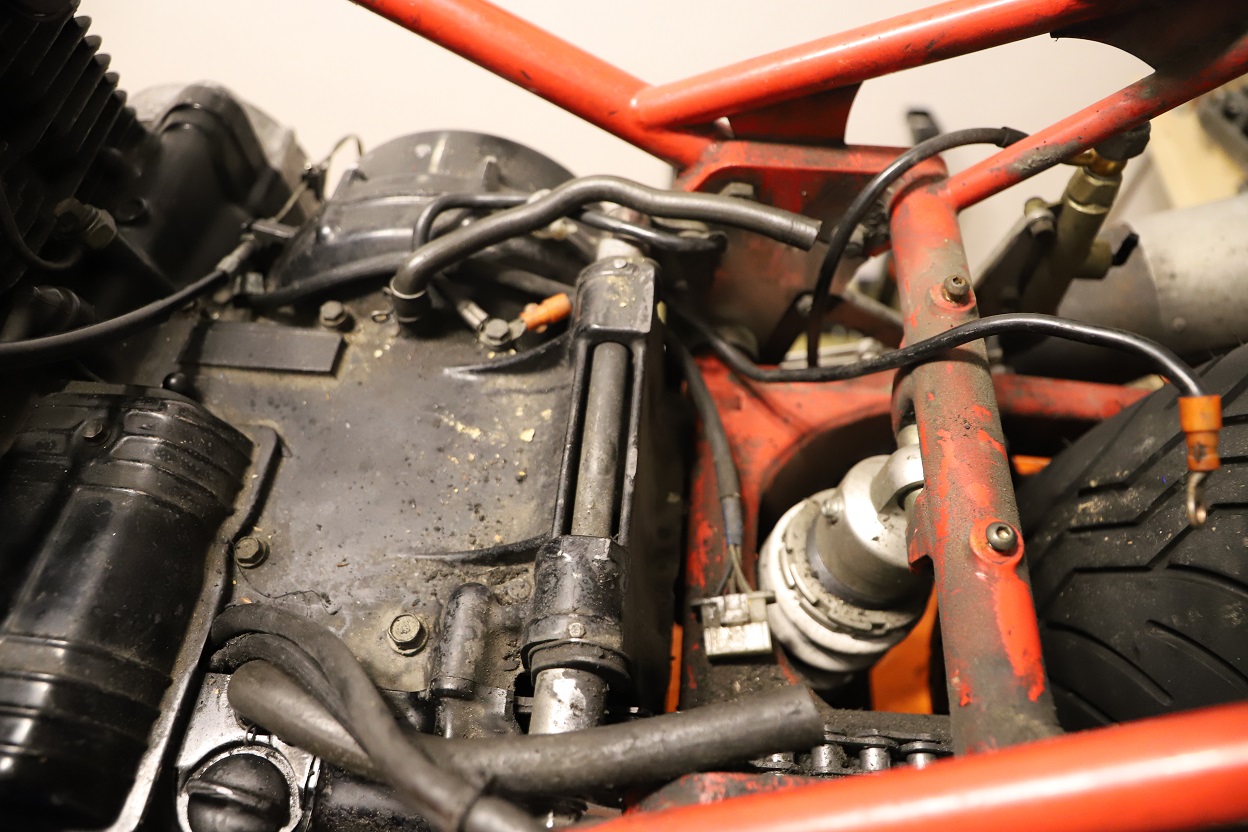
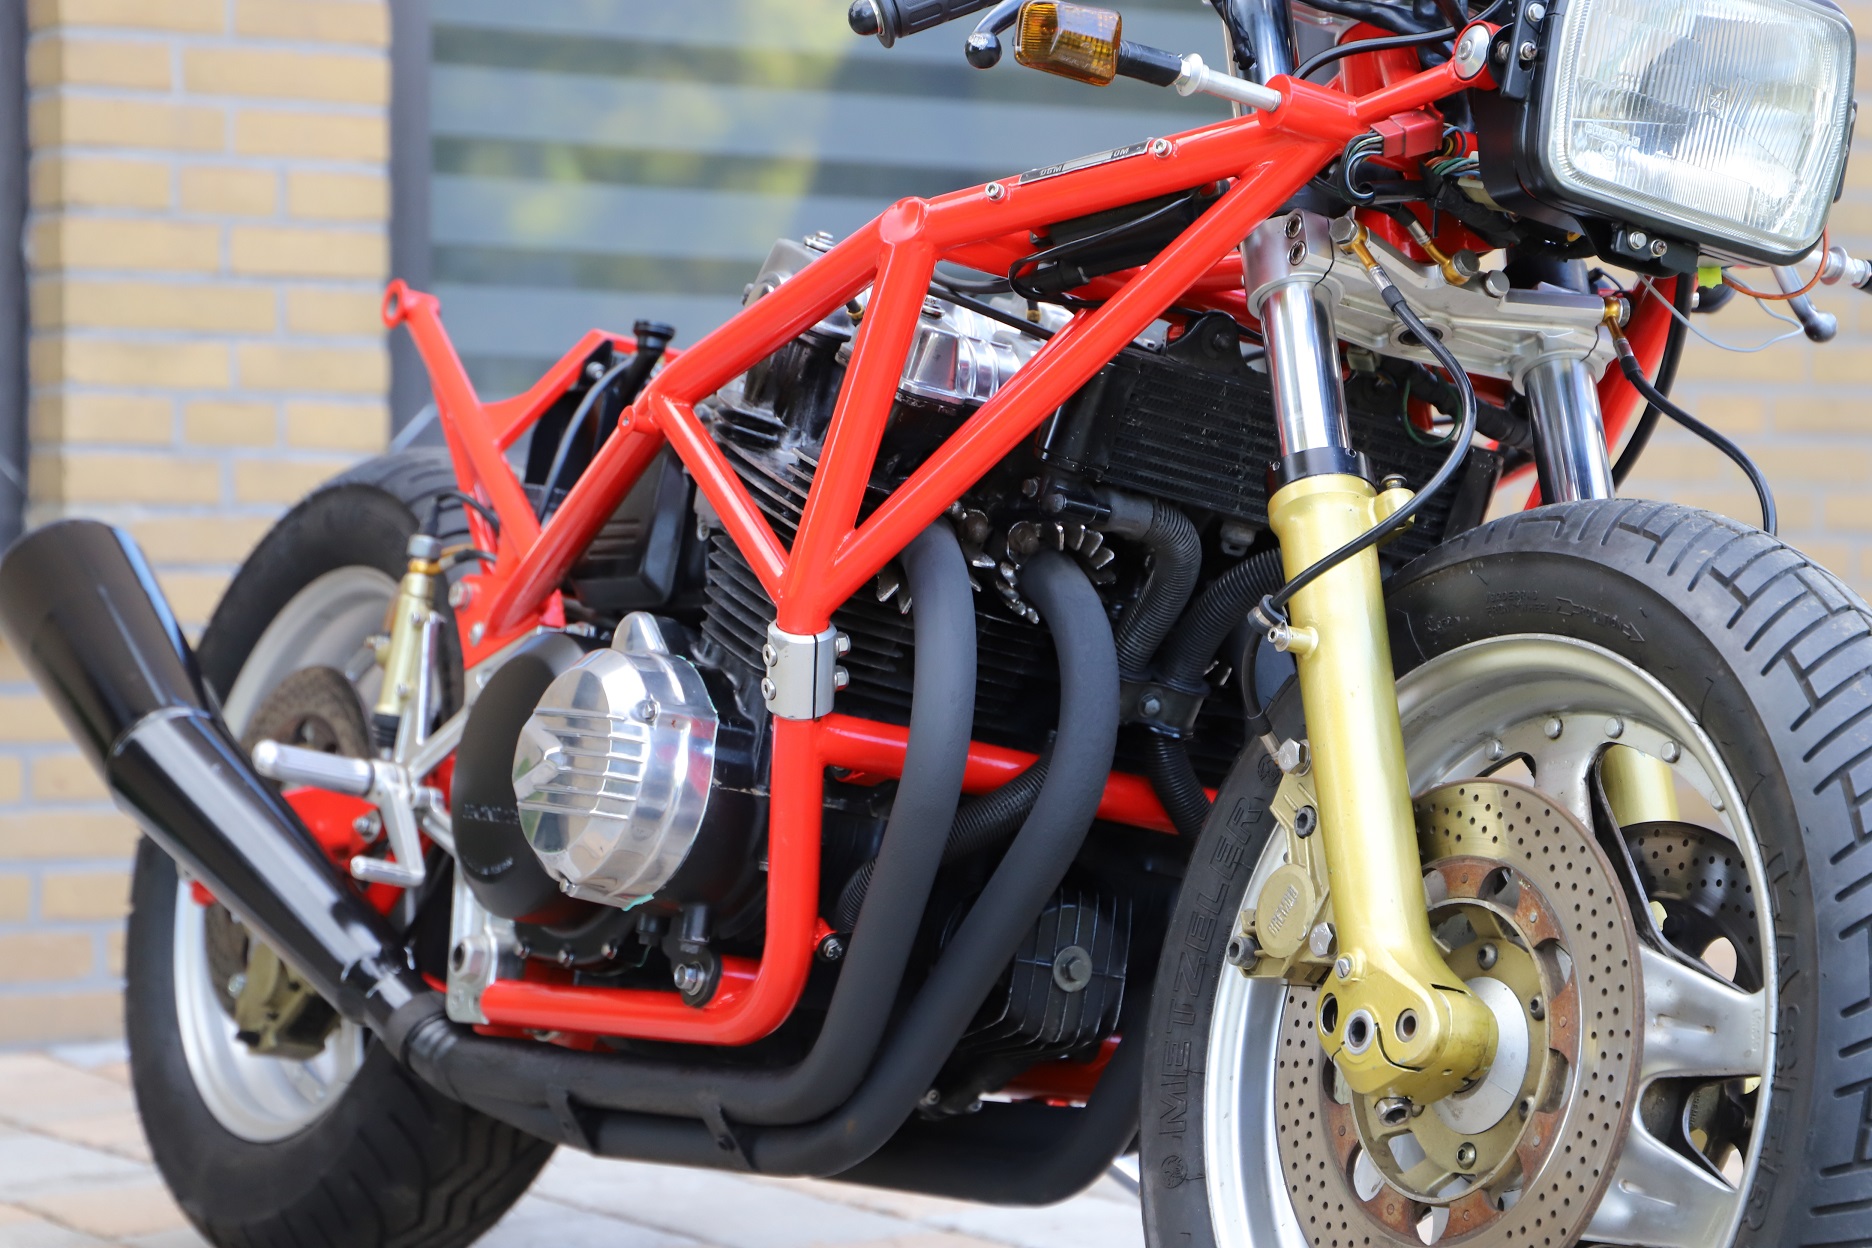
All painted steel components (frame, swingarm, mounts, etc.) need to be blasted and then powder-coated again. All screws and bearings (except those in the engine) will be replaced entirely. The aluminum parts are in surprisingly good condition and can be cleaned by hand. The engine covers will be polished or powder-coated as well. The wiring harness is extremely dirty but intact. The old insulation will be removed, damaged wires replaced, and the whole harness will be rewrapped.

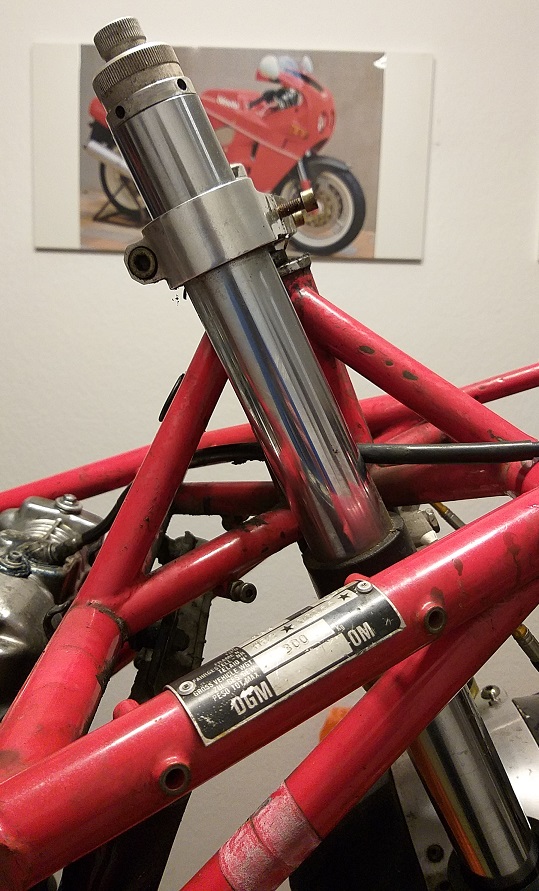
During the disassembly of the fork, I noticed a misalignment between the steering head and the fork tubes. Strange. Could this be an intentional trail adjustment, which would require a different triple clamp? Or is it just a workaround from a small-series manufacturer who, after producing several frames, realized the bike’s handling was too extreme for the road? No, of course not! The non-parallel alignment of the steering head and fork angle is clearly intentional. When the steering head is steeper than the fork tubes, the reduction in trail during fork compression is minimized.
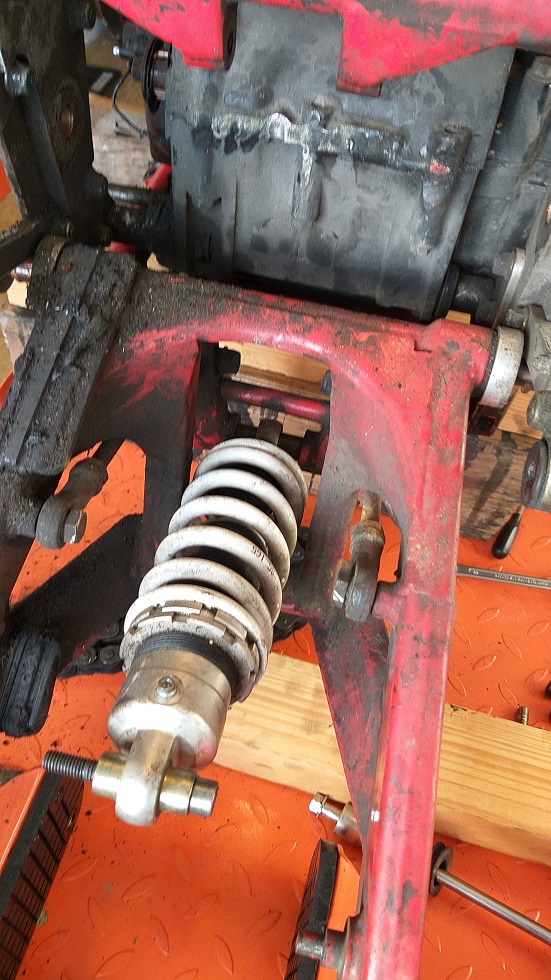
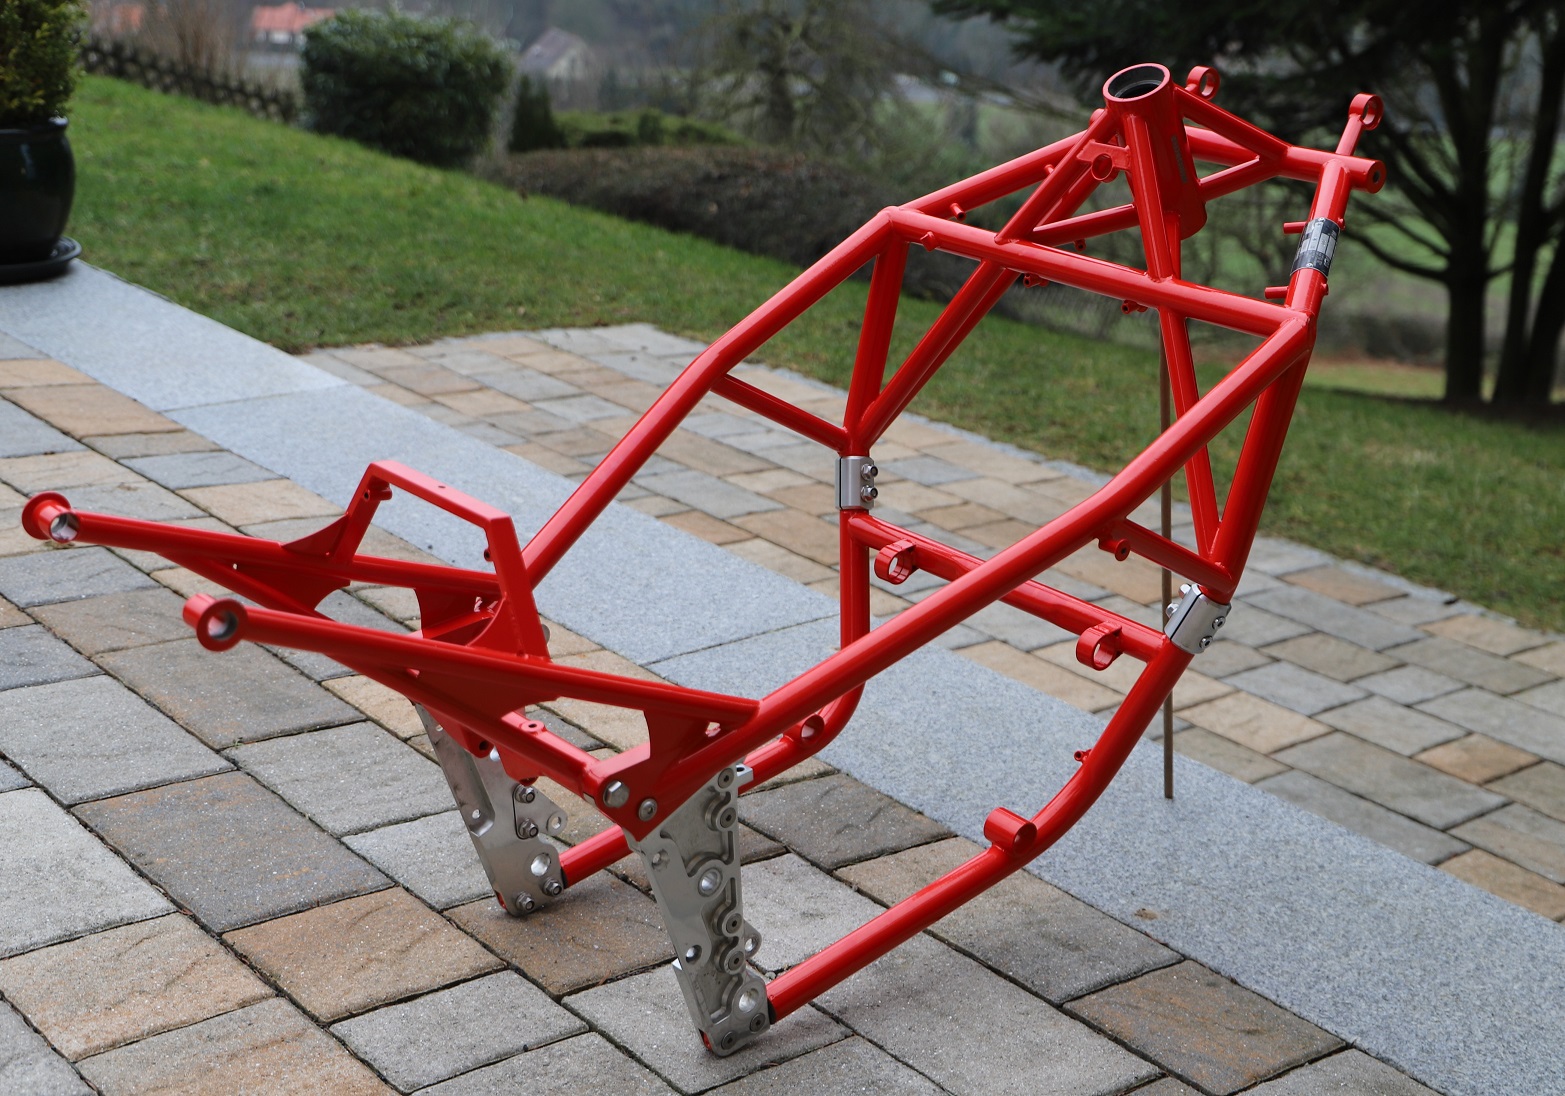
Once all the metal parts requiring reconditioning were prepared (sealing holes, threads, and bearing seats, as well as masking the machined surfaces), they were sent to a surface specialist at the end of January. The parts were glass bead blasted and powder-coated in their original colors: the upper frame, lower frame, swingarm, linkage for the shock absorber, and tie rods in Rosso traffico (RAL 3020 traffic red), while the battery box, instrument holder, headlight rings, horn bracket, fender mounting rail, headlight mounts, and clutch cover were coated in Nero intenso (RAL 9005 deep black).
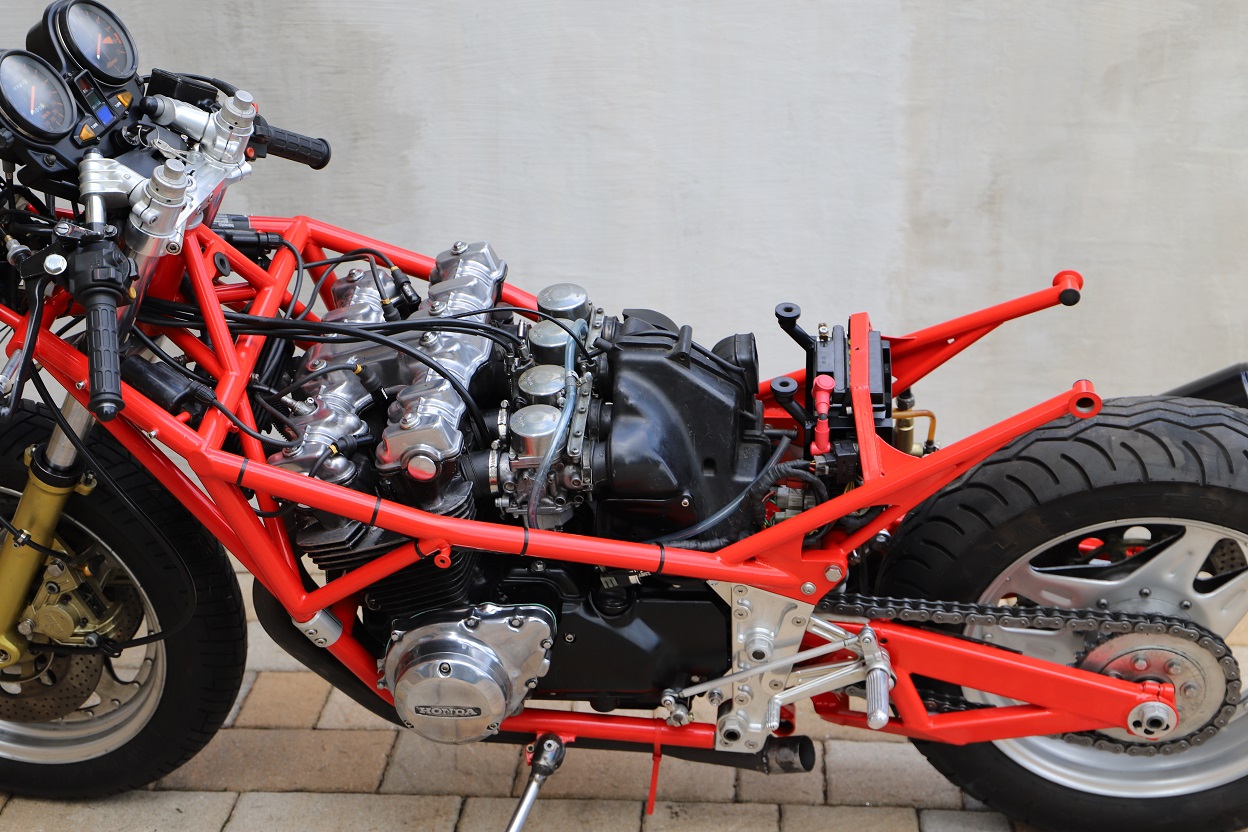
In parallel, it was time to inspect the engine, even though the previous owner claimed it was in perfect condition. But trust is good, verification is better. So, I removed the spark plugs and checked the compression. Cylinders 2 and 4 had only 6.5 bar of compression. With some luck, the piston rings were just stuck in their grooves due to the long period of inactivity. I sprayed WD-40 into the combustion chambers and measured again. The pressure immediately rose above 10 bar but then dropped again. Only after several WD-40 treatments did all cylinders hold over 10 bar consistently.
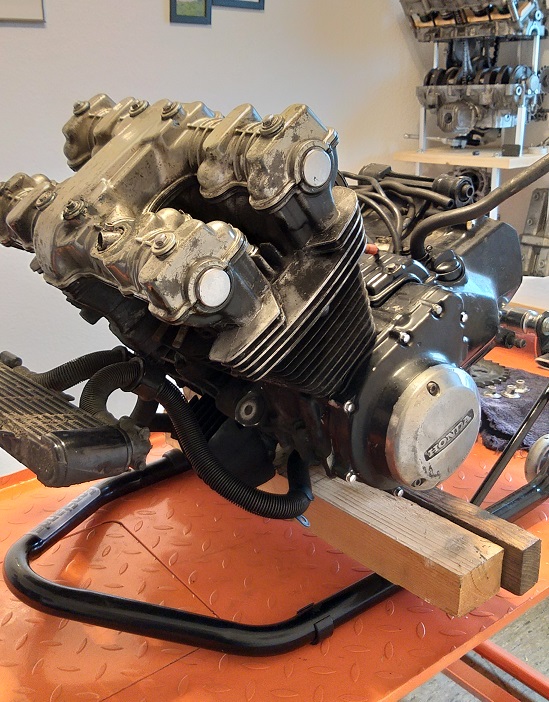
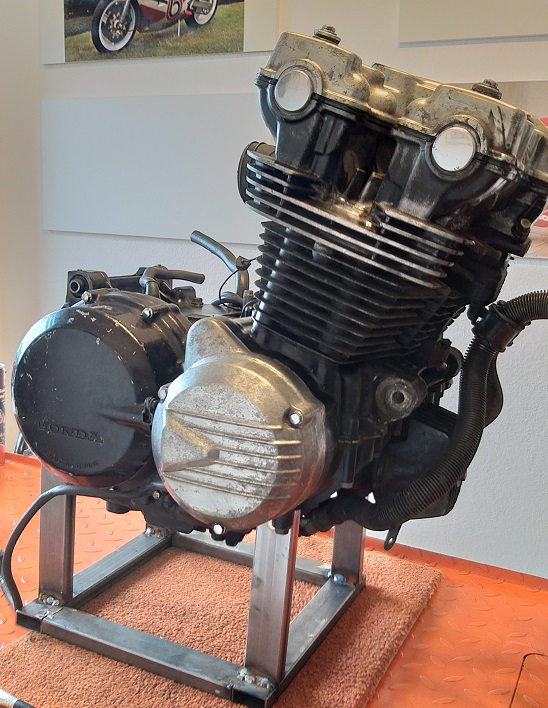
Next, the valve cover was removed, and the valve clearance checked. The specified clearance is 0.08 mm (max. 0.13 mm, min. 0.06 mm) for both intake and exhaust valves – Honda clearly had thermal expansion under control. The intake clearances were within spec, but the exhaust side had excessive clearance on three cylinders. No big deal, as this engine type uses bucket tappets with shim adjustment, making corrections easy. The camshafts looked great, so I decided to trust the mechanics and not open the engine any further. With cleaned and synchronized carburetors and properly adjusted valve clearances, the engine should run again.
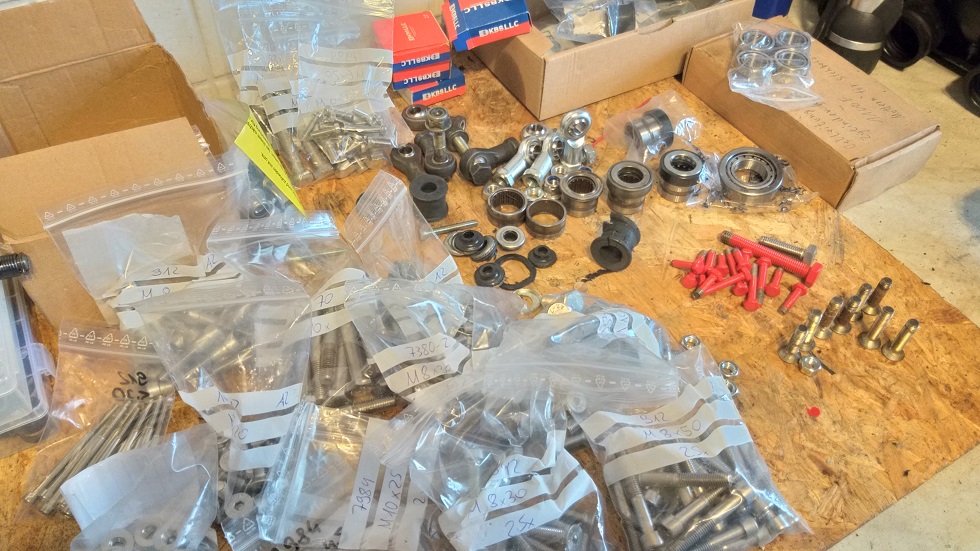
A few days later, the freshly powder-coated parts were ready and looked brand new. Now came the more enjoyable part of the restoration—the reassembly. Sourcing new parts was sometimes straightforward, but at other times required creativity. Bearings, such as the combined needle-roller bearings in the swingarm, the needle bearings in the shock linkage, or the tapered roller bearings in the steering head, were still available with their original part numbers and reasonably priced.
Far more time-consuming was identifying and ordering the various bolts, nuts, and washers – over 20 different types just for the frame and swingarm fasteners. The range of bolts included M6 to M10, lengths from 12 to 80 mm, internal and external hex, countersunk, dome, flat head, and both fully and partially threaded variants. The real challenge was finding the engine mounts, as they had no markings and couldn’t be located online, even after hours of searching. Since searching by dimensions also yielded no results, I looked for rubber bushings with matching measurements. The closest match? Stabilizer bushings from a Mercedes Sprinter.
Five days later, all bearings are pressed in, and the engine, wiring harness, fork, swingarm, wheels, and much more are reassembled. Over the next few days, visible progress slows down. Tasks such as filling and bleeding the brake system, fabricating chain sliders from a single piece of Delrin, or welding a rusted-out crankcase breather tank are not quick jobs. But by mid-February, the build is far enough along to take the first photos outdoors.
The next day, the fairing is installed to check the routing of cables and brake lines. This brings an old issue back into focus. The previous owner had shortened both the fairing and windscreen to accommodate a high handlebar. While searching for a solution, I find a company online that offers replica fairings for the SB4, HB2, and KB3. I order a new fairing, including the windscreen, which takes nearly six weeks to be completed. However, unexpected problems arise during installation.
The smaller issue is the windscreen’s fitment—it sits noticeably lower on the left side above the headlight than on the right. This can be marked and sanded to fit. The bigger problem is that the fairing itself does not fit. The clutch and ignition covers on the Honda engine are positioned differently and are larger than those on the Suzuki-powered SB4. Additionally, the cutouts for the exhaust system on the HB3 are larger. Well, lesson learned – an SB4 fairing does not fit an HB3. But there was a silver lining: through this issue, I was referred to the manufacturer of the windscreen, a company called Polybauer.
At the end of April, I drive to Lehrte with my parts and meet Dietrich Polybauer, who was a well-known fairing manufacturer in the late 1970s and 1980s. He is now retired, and his sons run the business, though they have shifted focus toward tire sales and car tuning. Dietrich examines my cut-down fairing, takes it on as a project, builds a model in the mold workshop, and reconstructs the missing fairing sections. By May 3rd, the fairing is finished—excellent craftsmanship at a fair price!
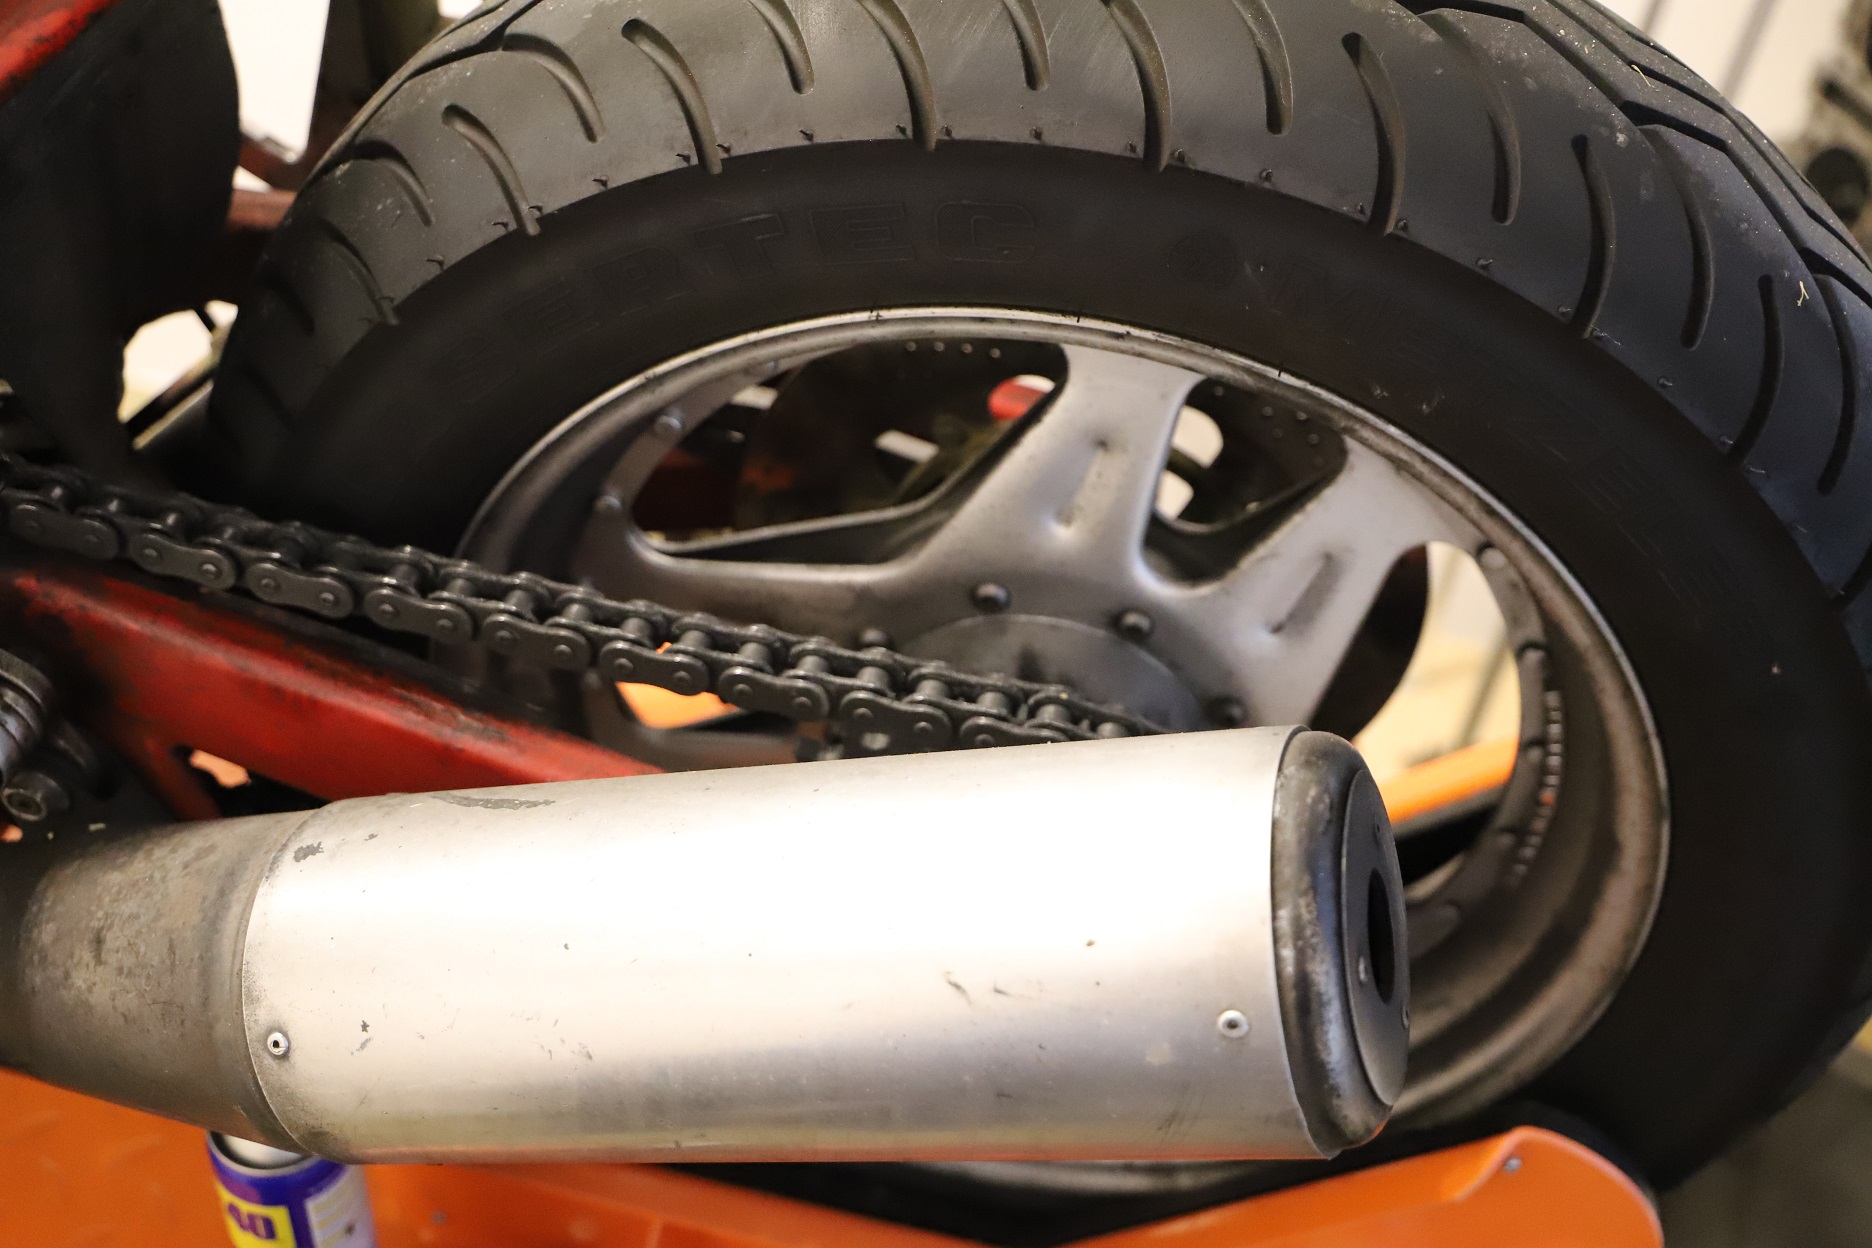
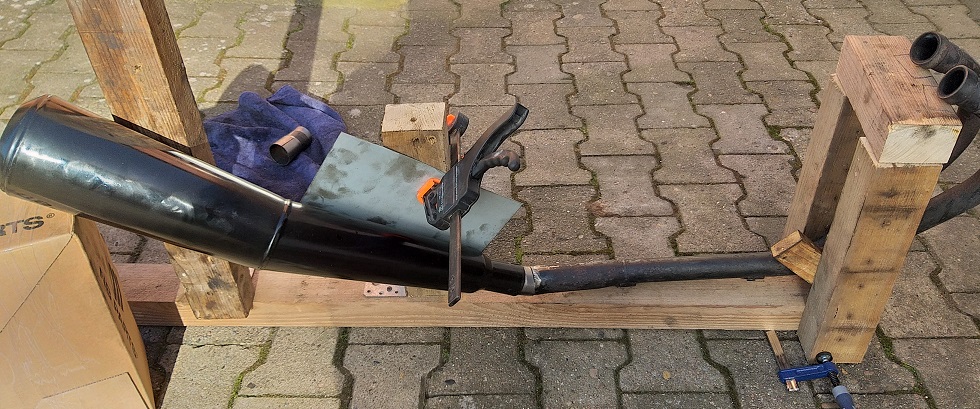
The exhaust system turns into a real time-consuming and nerve-wracking challenge, as no original parts are available. To move forward, I buy a pair of used aftermarket mufflers for a CB1100 from a Honda collector in Wadersloh via eBay Kleinanzeigen. The mufflers are made by JAMA from the Netherlands and have an ECE approval, identifiable by the „e4“ marking in a rectangle. However, the company has been out of business since 2012, making it difficult to obtain the necessary documentation. I’ll have to find a solution before the final inspection. But first, the mufflers need to be adapted.
I’m already holding the angle grinder, ready to cut off the old silencers, when I notice that someone has already modified the system. The right and left sides are not symmetrical, and there are welds at the junction between the headers and the mufflers. So simply cutting and slipping on the new ones won’t work. Using wooden beams, I build a fixture to align the silencers symmetrically. Then, with bends and couplers from automotive exhaust systems, I spend entire days aligning, tacking, assembling, realizing it doesn’t fit, cutting again, realigning, and repeating the process. Finally, everything is welded, the weld seams are polished, and I quickly bend and weld mounting brackets from flat steel. Everything should fit now—until I realize during installation that the brackets sit too close to the swingarm, requiring another round of fine adjustments.
But eventually, the exhaust system is complete, and the moment arrives to bring the engine back to life. Using a large car battery, jumper cables, and a separate fuel container, the startup process goes surprisingly smoothly. As expected, the exhaust valves are noisy, and the engine doesn’t run perfectly yet. Still, I’m excited and share my joy with a short video on my WhatsApp status. Shortly after, my Bimota friend Harald sees (and more importantly, hears) the video and asks if I might need the tool for changing valve shims and a carb synchronizer.
Once everything is adjusted, the 1100 purrs as it should. After nearly three months, the bulk of the restoration is complete. The remaining tasks include painting, fixing the sprocket carrier on the rear wheel, and smaller details like turn signals, seat padding, and heat shielding for the fairing. I order the decals for the paint job from an advertising agency and continue searching for a replacement rear wheel, as it’s essential. But now it’s spring, the riding season begins, and the final steps will have to wait until next winter.
It actually takes until spring 2022 before I continue. Making the seat pad from a 20 mm closed-cell rubber mat turns out to be easier than expected—the material cuts and sands well. I find 1980s Honda turn signals on eBay. That leaves the wheel and the paintwork.
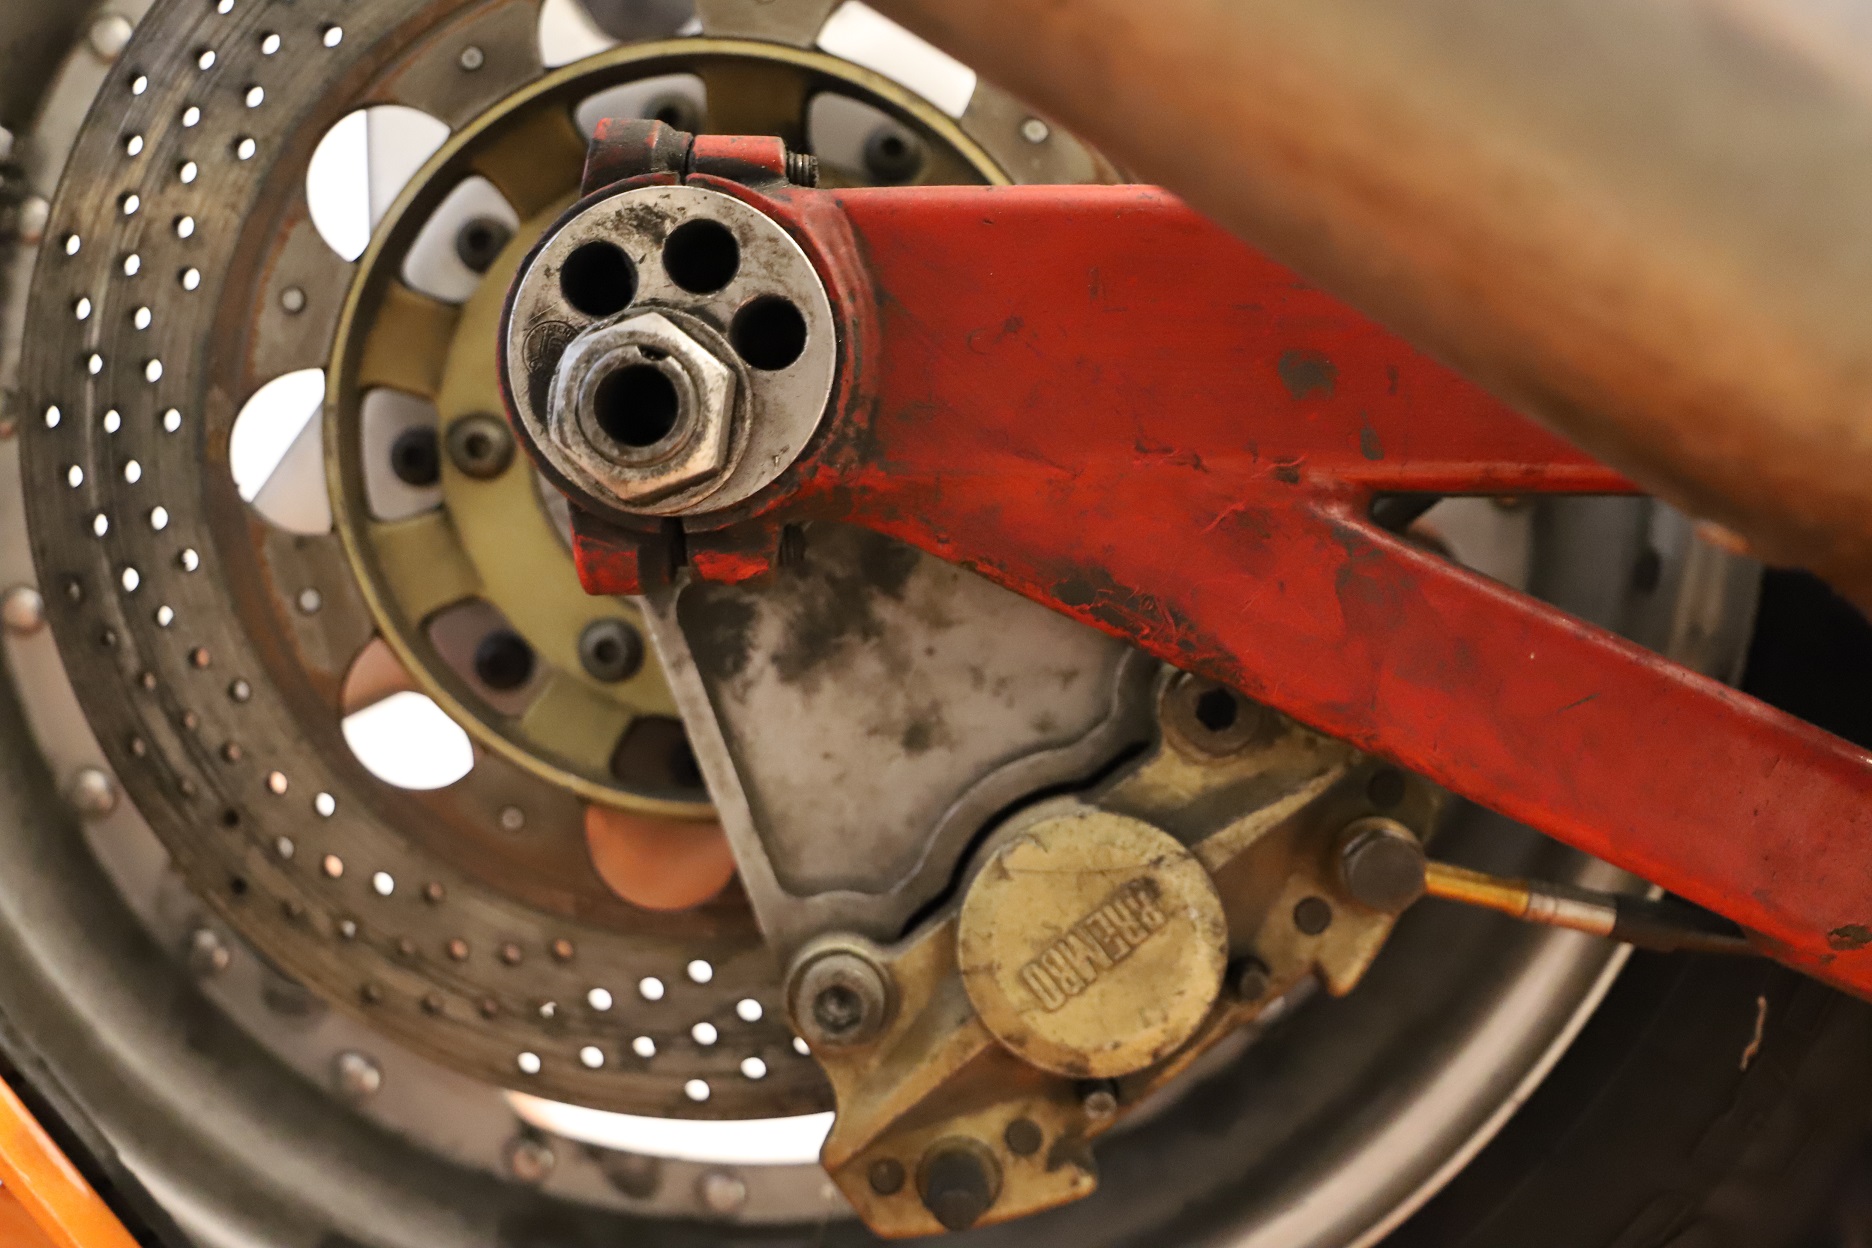
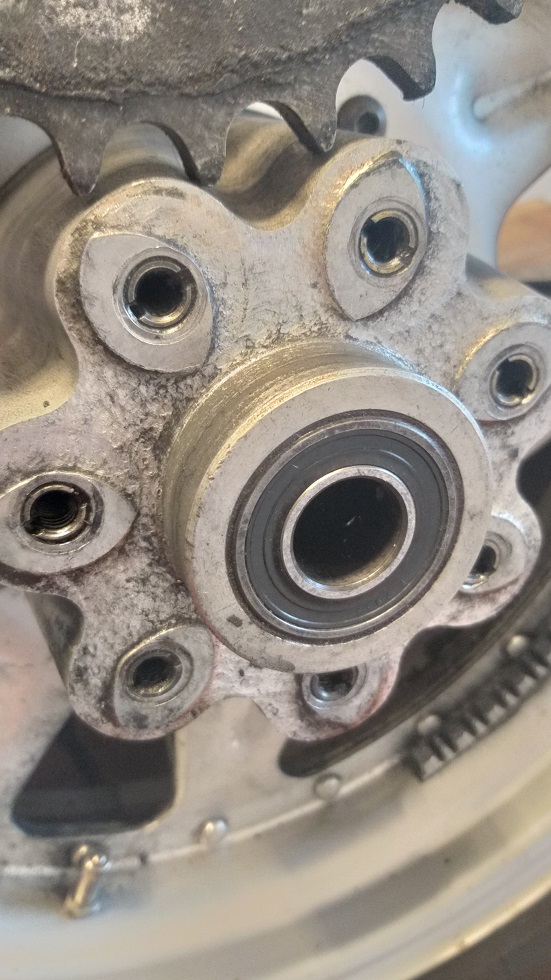
Ah yes, the rear wheel. On January 15, 2021, while disassembling the bike, I made an unpleasant and unbelievable discovery—one that I wouldn’t find a solution for until a year later. The sprocket and sprocket carrier were completely worn out due to either deteriorated cush drive rubbers or incorrect parts. I still wonder how anyone could assemble it this way or how they didn’t notice while riding.

At the end of January 2022, a white-painted wheel fortunately appears on eBay Kleinanzeigen. I take it to a company specializing in wheel refinishing, where it is stripped in a lye bath. In the process, the sealing tape in the bed of the riveted wheel disintegrates. Back in the 1980s, Bimota proudly advertised its use of high-tech Teflon tape from the aerospace industry to seal the wheel, allowing for tubeless tires. Today, a standard cartridge of wheel sealant is enough to solve the problem. Since Bimota originally anodized the wheels at the factory, no additional surface treatment is required after stripping.
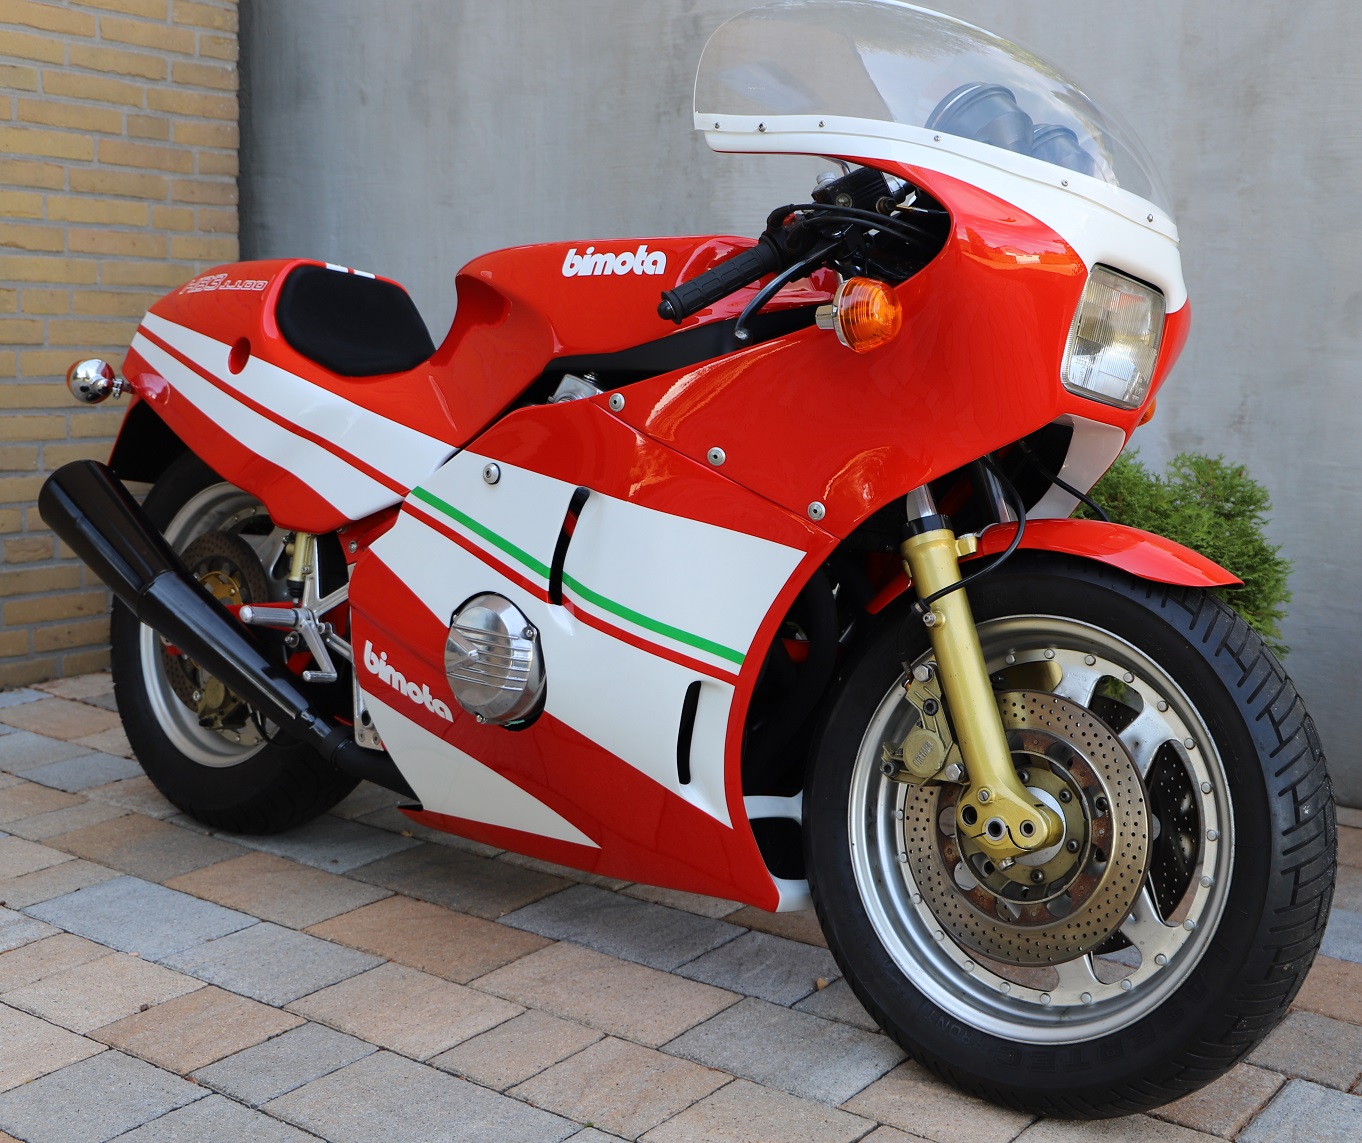
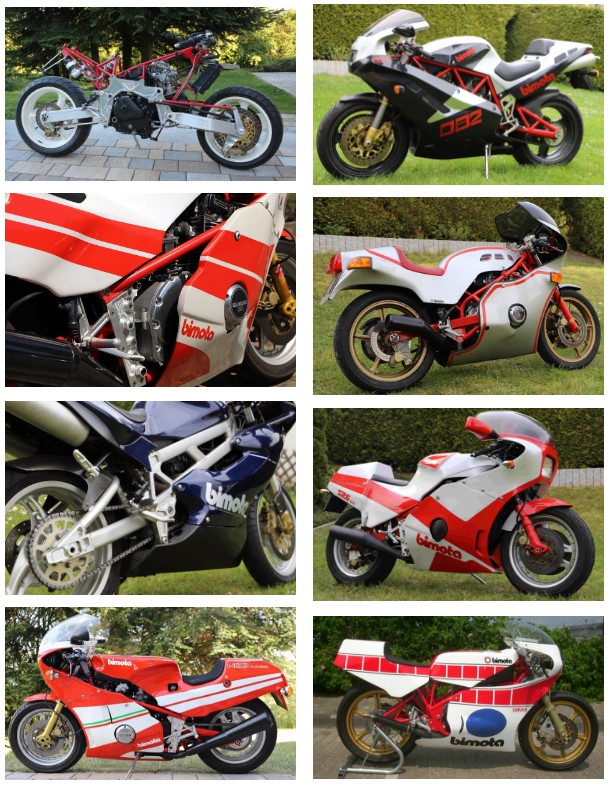
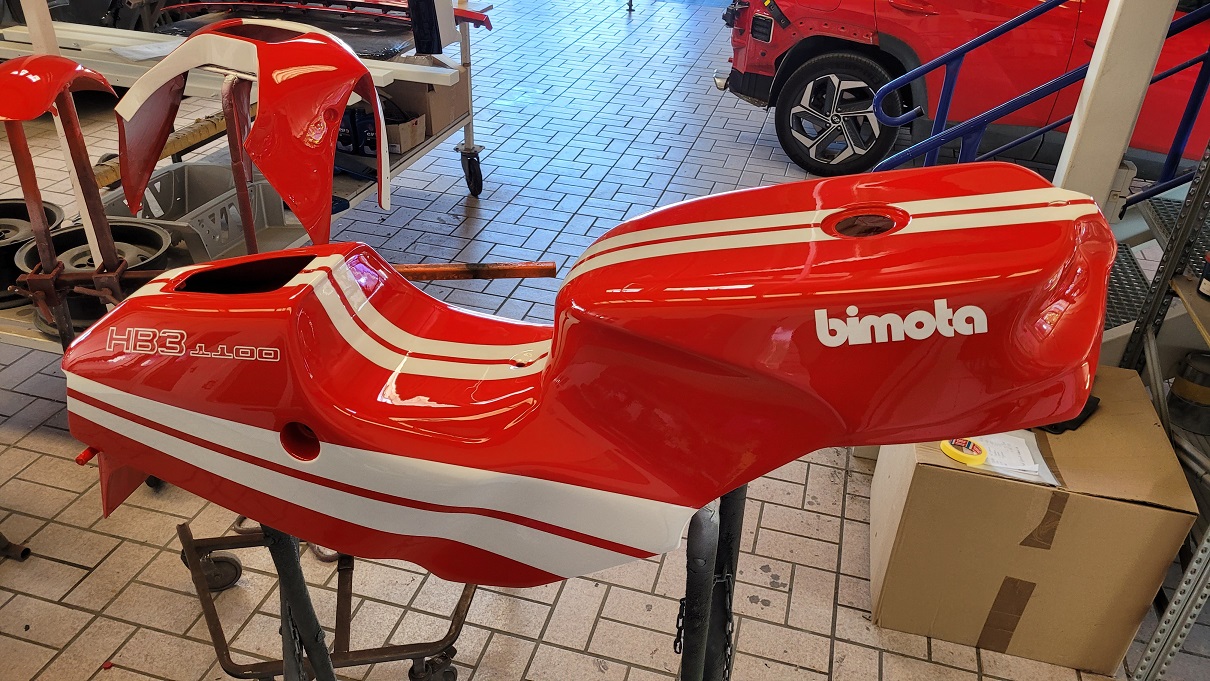
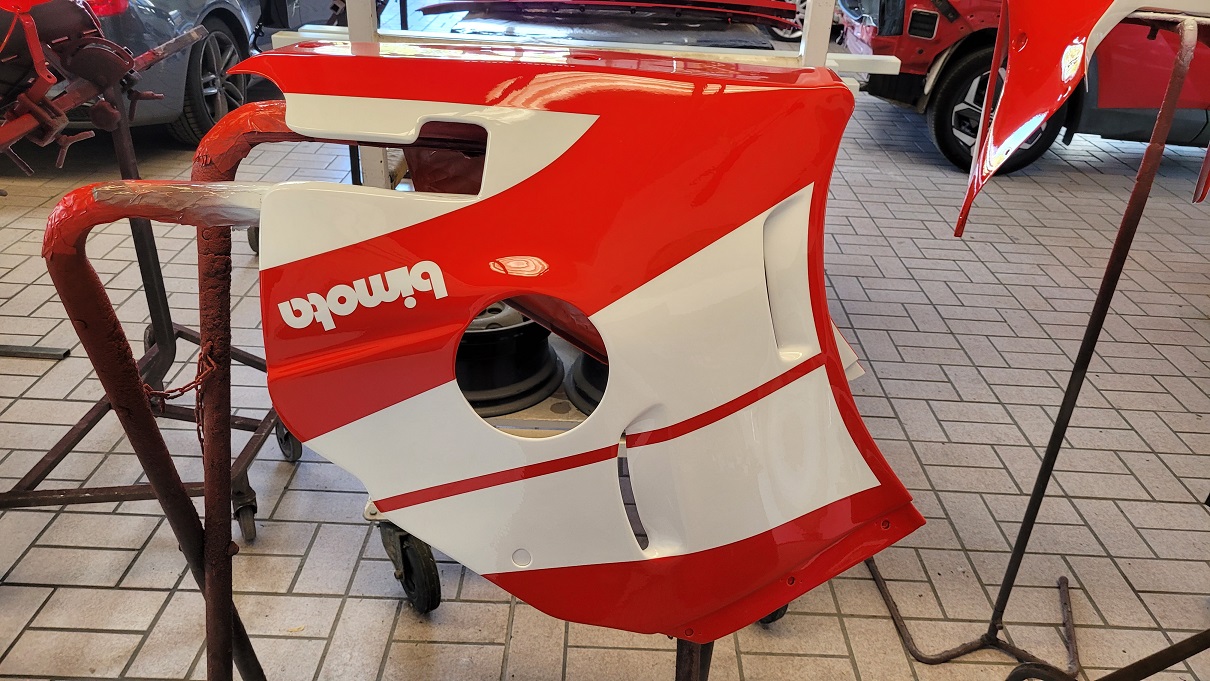
The final challenge is the paintwork. The HB3 was offered in four different paint schemes. Of the 101 machines delivered, 29 featured the classic red/white design, 24 had the red/white/blue color combination of the Honda Racing Corporation (HRC), 46 sported the red/white/green design, and 2 were painted entirely in gray.
To determine which paint scheme this HB3 originally had, I sand down the fairing and monocoque. Fortunately, the most intricate and, in my opinion, most beautiful color combination emerged—red with white sections and a green stripe. This also made it clear that my SB4 S would serve perfectly as a reference for the paintwork, as it features the inverse color scheme, except for the green stripe.

For the paintwork, I chose the company Rauhut in Rehren, as they had done excellent work on a previous restoration. I had already visited them in 2021 with the parts to discuss whether they could repair and eliminate the numerous cracks and holes in the fairing.
When I returned at the end of April with my two-piece fairing, monocoque, fender, storage compartment cover, and plenty of reference photos from the internet, I had to put in some effort to motivate the junior boss for the job. The condition of the fairing, the complex four-color paint scheme, and the challenge of masking the white sections were anything but routine. I offered my SB4 as a reference and created a list detailing the position of all decals and painted areas.
Almost four months later, on August 15th, the work was finally completed. The parts looked fantastic, and I was truly grateful to Felix Rauhut for taking the time to do the job properly.
September 2022 brought another exciting moment. I had scheduled an appointment at the TÜV in Hameln to have the exhaust system approved. In advance, I had made several phone calls and sent information via email. Officially, this process is called an „inspection according to §21 StVZO due to the expiration of the operating license.“ In practice, it meant an individual approval process, including a test ride, an inspection, and a noise measurement at half the rated RPM, totaling €151.80.
The inspector approved my custom-built exhaust and was clearly impressed by the HB3. He even offered to carry out both the overdue general inspection, which had expired in July 2018, and the „inspection for historic vehicle classification according to §23 StVZO.“ I hadn’t planned for that, but the opportunity seemed too good to pass up. An additional €43.20 for a general inspection „without any identifiable defects“ and €69.02 for the historic vehicle certification were required. With that, all the conditions for registration with my new 07 license plate were met, marking the official completion of the HB3 revival project.